Tor tips and usage examples
This article has compiled quick practical Tor recipes.
Where to download Tor without a browser for Windows
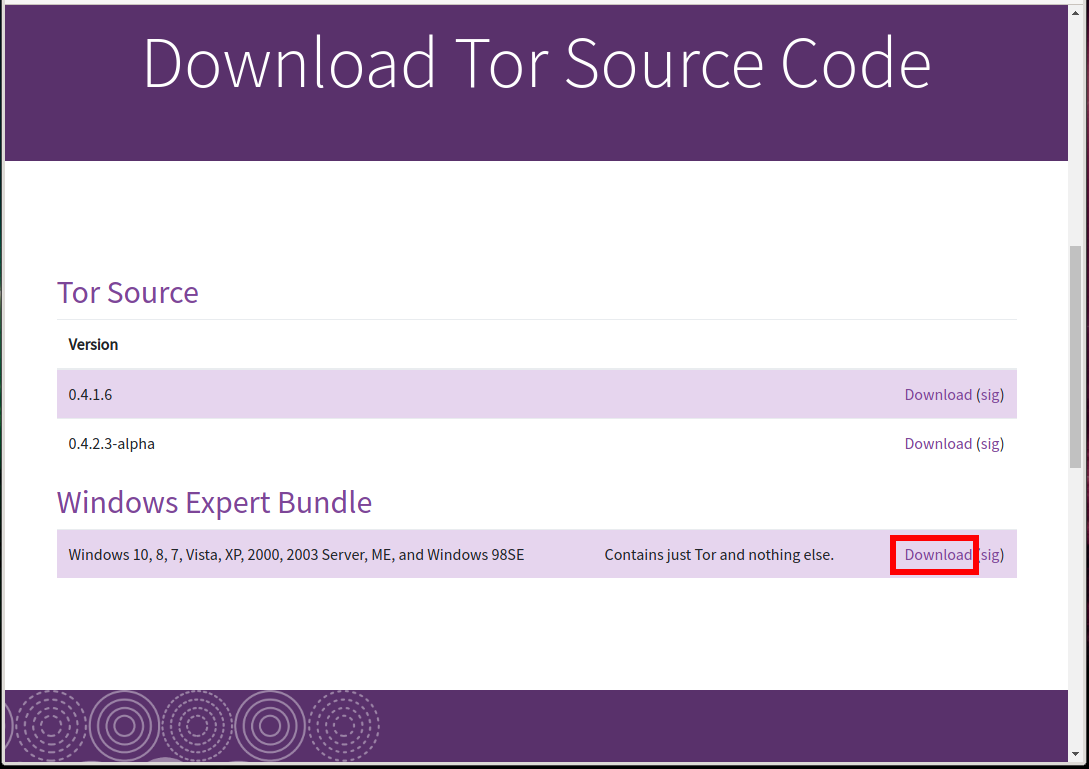
On the official site on the download page there is no Tor without a browser. To find it, you need to click on the link “Download Tor Source Code” and already there after Tor Source (which must be compiled before use) will be “Windows Expert Bundle” - these are the files for launching the Tor service without a web browser.
How to install the Tor service without a browser on Windows
This issue is discussed in detail in the section “How to install Tor and create Tor hidden service on Windows”. The following tips suggest that Tor is installed as described in the referenced article. Especially pay attention to how the installation is done when you need Tor to use the settings from the configuration file.
Configuring GeoIPFile and GeoIPv6File for Tor on Windows
Files for determining the location by IP address (geolocation) are supplied with Tor. These files have the names geoip and geoip6. On Linux, these files have the following paths:
- /usr/share/tor/geoip
- /usr/share/tor/geoip6
For normal Tor operation, these files are not required, and therefore, the instructions that are referenced do not say anything about enabling them. Nevertheless, if you want to configure Tor so that you have IP address of a certain country, or that it avoids using Tor network nodes located in certain countries, you must definitely specify files for geolocation in the Tor settings.
In the downloaded archive, these files are located in the Data\Tor folder. Unzip the two geoip and geoip6 files into the C:\Tor\ folder where Tor is already installed.
Now create (if you have not already done so) or open the file C:\Tor\torrc and add the following lines to it :.
GeoIPFile "C:/Tor/geoip"
GeoIPv6File "C:/Tor/geoip6"
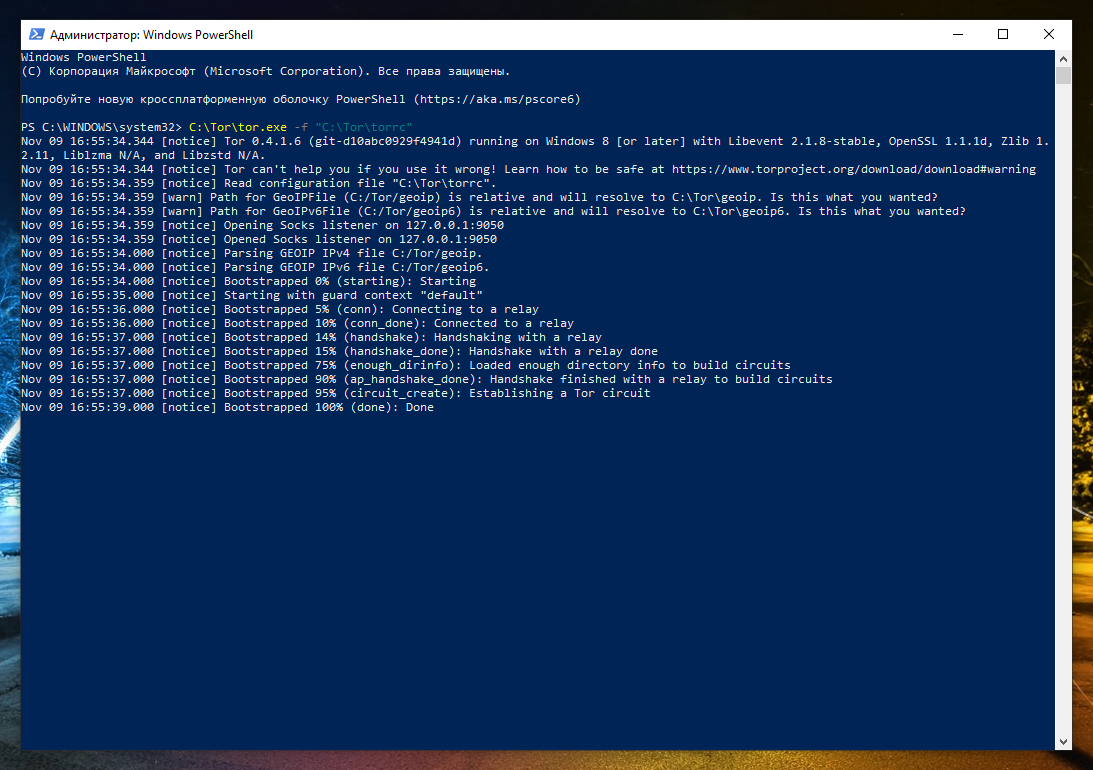
If everything is fine, then the following lines should appear:
Nov 09 16:54:39.000 [notice] Parsing GEOIP IPv4 file C:/Tor/geoip.
Nov 09 16:54:39.000 [notice] Parsing GEOIP IPv6 file C:/Tor/geoip6.
How to exclude certain countries from Tor chains
For this setting to work, the values of GeoIPFile and GeoIPv6File must be configured for you. How to do this in Windows is shown a little higher. On Linux, everything is configured automatically immediately after installation.
If you want your requests not to go through Tor hosts from certain countries, then open the Tor configuration file:
- On Windows, this is C:\Tor\torrc
- On Linux, this is /etc/tor/torrc
And add the ExcludeNodes directive to it, after which place the list of two-letter country codes (each value should be placed in curly brackets, the values are separated by commas), which you do not want.
An example of the exclusion of Tor nodes from countries of the Russian Federation, Belarus, Ukraine and Kazakhstan:
ExcludeNodes {ru}, {by}, {ua}, {kz}
Also add the settings:
StrictNodes 1
GeoIPExcludeUnknown 1
For the changes to take effect, you must restart the Tor service.
How to make sure that when exiting through Tor there is an IP address of a certain country
If you want always to have the IP address of a specific country when accessing the Internet via Tor, then use the ExitNodes option, after which in curly brackets indicate the two-letter country code of the selected country. An example of a setting in which the IP address when using Tor will always be from Japan:
ExitNodes {jp}
For this setting to work, the values of GeoIPFile and GeoIPv6File must be configured for you.
For the changes to take effect, you must restart the Tor service.
You can specify several countries at once, and IP addresses will be selected for any of this list. An example of a setting that only uses Tor output nodes from European countries (Germany, France, Finland, the Netherlands, New Zealand, Norway, Switzerland, Sweden, Denmark, Estonia):
ExitNodes {de}, {fr}, {fi}, {nl}, {nz}, {no}, {ch}, {se}, {dk}, {ee}
The ExcludeNodes option overrides this option: any node specified both in ExitNodes and ExcludeNodes is considered excluded.
Setting up Tor logs on Windows
To save the Tor service log to a file, add the following directive to the Tor configuration file:
Log info file C:/Tor/tor.log
and restart the Tor service.
To change the detail level of Tor logs, instead of info, you can specify: debug, info, notice, warn and err. Options are listed from the most verbose to the least verbose.
All messages will be written to the file C:/Tor/tor.log (you can change the path to the file).
Configuring DNS lookup through Tor on Windows
Add the directive to the Tor configuration file:
DNSPort 53
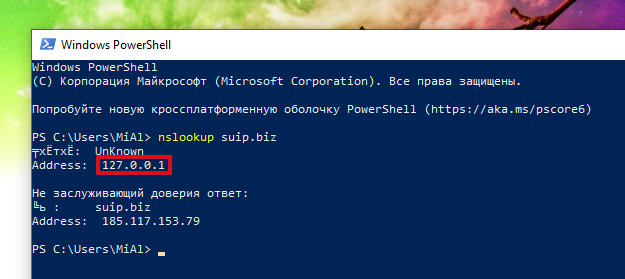
Then, in the system settings, you need to specify 127.0.0.1 as the IP address of the DNS server.
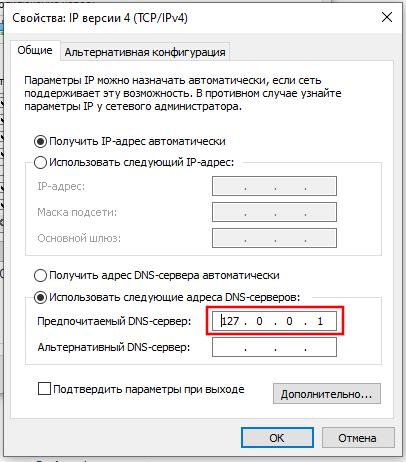
After that, all DNS queries will be transmitted through the anonymous Tor network.
Can Tor be used as a proxy on a remote computer?
To get acquainted with the proxy, see the articles:
If you want to organize your own proxy on the server, then you can do it using Tor. Using the SocksPort directive, you can make the Tor service listen on an external IP address for connections (by default, it only listens on localhost).
If you do not take any measures, then this proxy will be open and anyone can use it. To limit who can connect to the proxy, use the SocksPolicy directive.
How to protect against identification by traffic profile
We can assume quite specific conditions when an eavesdropper has access to your traffic (for example, it may be an Internet service provider). Your Tor traffic is encrypted, and the only thing left for it is to monitor the activity of your traffic. For example, 18.01 o'clock, some outgoing traffic was sent and a response was received. Then, until 18.07, there was only negligible background traffic. Then until 18.16 active sending and receiving of data. In fact, the traffic profile is compiled not in minutes, but in seconds and fractions of seconds, but the main idea, I hope, should be clear. If the same eavesdropper has access to the traffic profile of the node to which this user was connected, then these profiles can be mapped and confirmed that this user was connected to this node.
In fact, to perform such an analysis, many conditions must be met and it is not entirely clear how applicable it is in real life.
However, with the ConnectionPadding setting, you can take security measures. This setting will send unnecessary data in addition to your data. On the one hand, this will increase the load on the network (which is especially sensitive if it is mobile paid traffic), but it should negate potential analysis methods.
To enable this feature, add the following directive:
ConnectionPadding 1
How to set up IP address change in Tor
By default, the Tor traffic circuit changes every 30 seconds. If you want this route to change more or less often, then use the NewCircuitPeriod option after which indicate the number of seconds after which the route should be updated and your IP address:
NewCircuitPeriod NUMBER
How to connect to sites through the same Tor exit node
If you do not log in to the site (do not enter your login and password), then the frequent change of IP address allows you to further confuse an eavesdropper. But if you log in to the site, in order to be able to identify you on it, cookies are stored in your browser. The user authentication process can be configured in such a way that after changing the IP, the website stops accepting these cookies and you have to log in again. With a frequent change of IP addresses, this can be very annoying.
Using TrackHostExits, the following behavior will be enabled: for most sites, Tor will work as usual – connect often by changing IP addresses. But for the sites indicated after TrackHostExits, Tor will remember the IP address of the output node through which the connection was made, and will try to use the same Tor output node to connect to these sites.
Host names and domains must be separated by commas:
TrackHostExits HOST,.DOMAIN,...
How to connect to Tor with OpenVPN
Connecting to Tor via a VPN is usually used in practice not so much to increase anonymity (although such use takes place), but to bypass the blocking of the Tor network. In some countries, the Tor network is blocked at the state level, so to connect the Tor browser or the Tor service, you must use bridges – intermediate nodes of the Tor network. Instead of bridges, you can connect to the Tor network through a VPN.
In fact, connecting to Tor via a VPN is even easier than using bridges.
Please note that due to the peculiarities of the blocking implementation (for example, blocking is performed only at the level of providers of the last mile), even the VPN of the country in which the Tor network is blocked can be used to bypass the connection blocking to the Tor network.
Signs that the ISP is blocking access to the Tor network are that the connection to Tor stops at the very first stages.
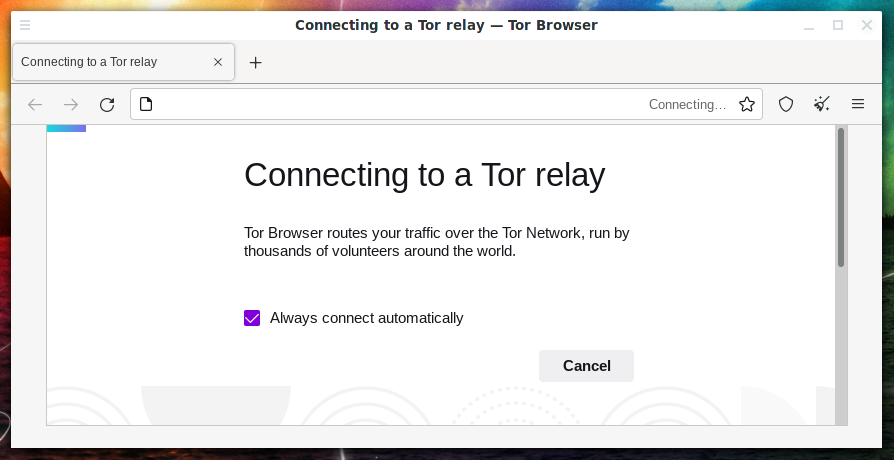
For example, Tor Browser freezes at the inscription:
Connecting to a Tor relay
Tor Browser routes your traffic over the Tor Network, run by thousands of volunteers around the world.
Another possible error:
Loading relay information
When trying to use the Tor service by starting it with the command
sudo systemctl start tor
status check
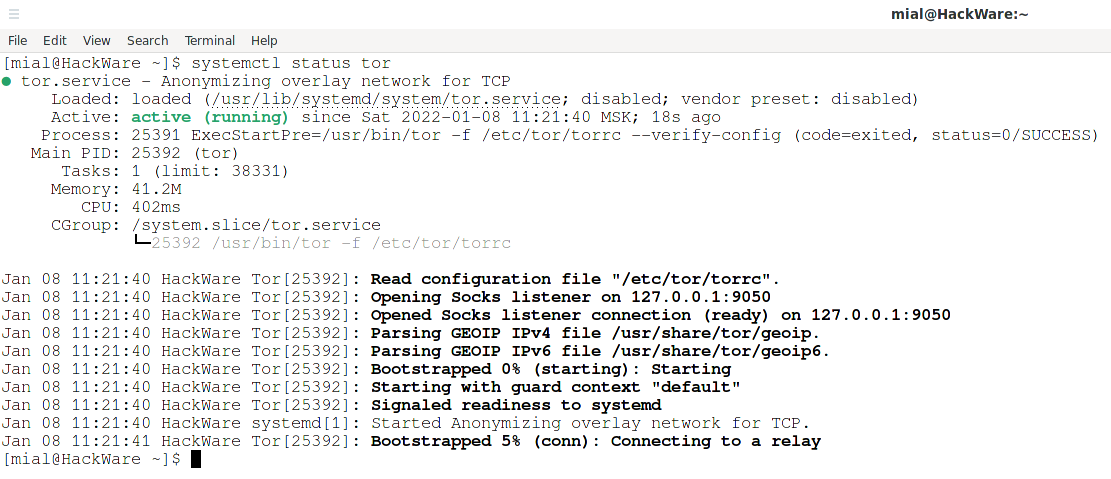
systemctl status tor
will show that the initial bootstrap stopped at 5%, that is, at the stage of connecting to the relay:
Jan 08 11:21:40 HackWare systemd[1]: Started Anonymizing overlay network for TCP.
Jan 08 11:21:41 HackWare Tor[25392]: Bootstrapped 5% (conn): Connecting to a relay
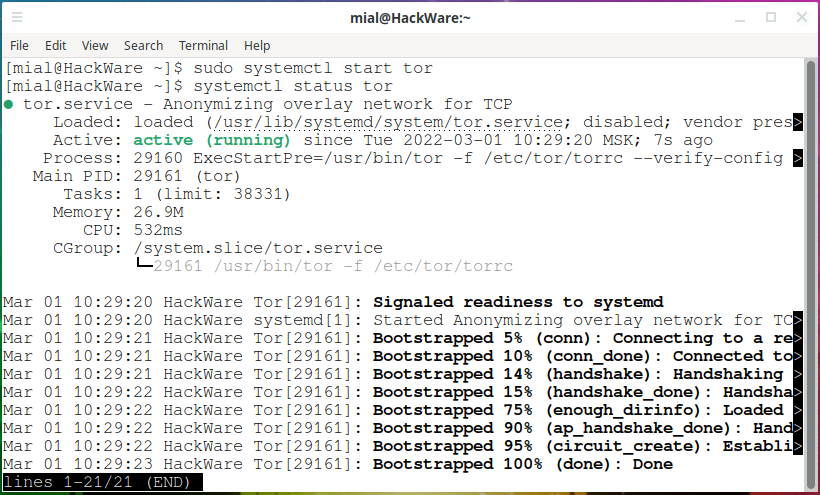
To connect to the Tor network over a VPN, start by connecting to a VPN server, for example using OpenVPN.

Right after that, you can use the Tor service as usual – no additional configuration is required.
The Tor Browser successfully connects to the Tor network and opens websites.

The tor service successfully establishes a connection to the Tor network.
If you still have questions about using Tor, write them in the comments. Also, if you know other interesting cases of using Tor and interesting Tor settings, then you can discuss them in the comments to this article.
Related articles:
- How to connect to OpenVPN via proxy or Tor (82.9%)
- How to make proxy with Tor in Windows (80.8%)
- How to redirect all traffic through the Tor network (76%)
- What to select: Tor, VPN, or proxy? (76%)
- How to parse proxy lists (73.2%)
- How to try Linux: install to USB, virtual machine, or something else? (RANDOM - 3%)