How to install Kali Linux in VirtualBox
Running Kali Linux in virtual machine has some advantages and disadvantages.
Your main OS is completely isolated from the installed Kali Linux virtual machine. Also you will get good performance compared to installing on a USB flash drive. Due to isolation, you also get complete security of you main operation system and your physical computer.
On the other hand, it is impossible to use hardware directly (video cards, network interface cards, if they are not USB). In this regard, there is some loss of productivity. You can occur with hardware restrictions, because not every processor is able to work with virtualization (the inability to use VirtualBox on some systems).
If you have a USB Wi-Fi card, then you can use it in a virtual machine. The recommended models are here.
Kali Linux installation in VirtualBox
For VirtualBox we can use Kali Linux VirtualBox Images, but even for installation in a virtual machine, I prefer to download regular ISO images, as this gives me more options for fine-tuning the system.
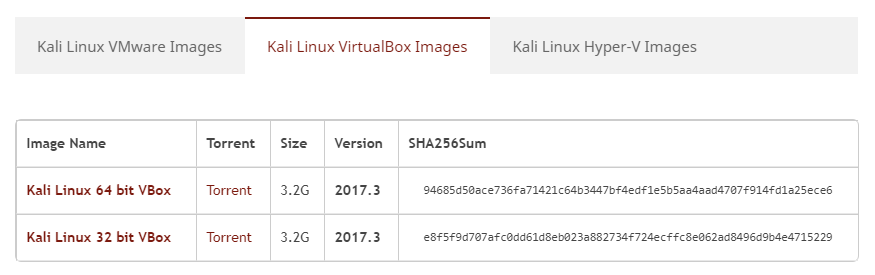
Download links and more details in the article ‘Where to download Kali Linux and how to verify the integrity of Kali Linux images’.
Creating a Virtual Machine
You should already have VirtualBox installed.
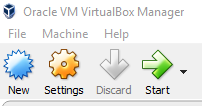
In VirtualBox, click New:
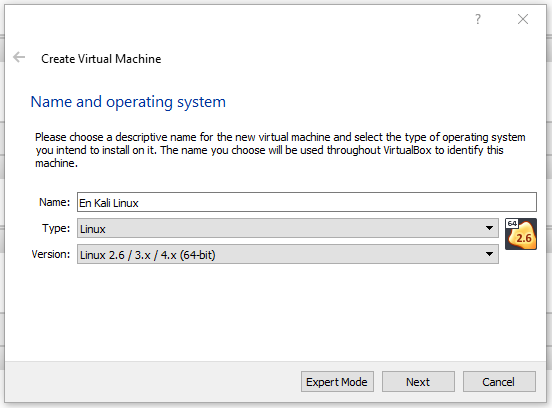
Choose a descriptive name for the new virtual machine and select the type of operating system you intend to install on it. The name you choose will be used throughout VirtualBox to identify this machine:
Select the amount of memory (RAM) in megabytes to be allocated to the virtual machine.
I do not recommend allocating less than 2 gigabytes of RAM to Kali Linux. If possible, set from 2 to 4 gigabytes:

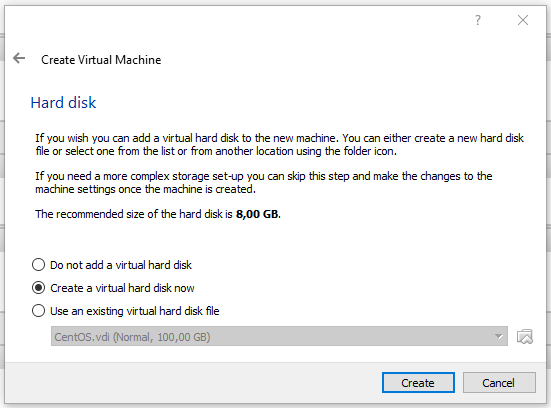
If you wish you can add a virtual hard disk to the new machine. You can either create a new hard disk file or select one from the list or from another location using the folder icon.
If you need a more complex storage set-up you can skip this step and make the changes to the machine settings once the machine is created.
We leave it unchanged to create a new virtual hard disk:
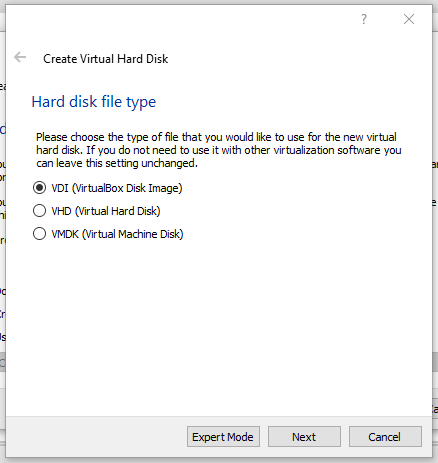
Please choose the type of file that you would like to use for the new virtual hard disk. If you do not need to use it with other virtualization software you can leave this setting unchanged.
- VDI (VirtualBox Disk Image)
- VHD (Virtual Hard Disk)
- VMDK (Virtual Machine Disk)
Do not change default selection:
Please choose whether the new virtual hard disk file should grow as it is used (dynamically allocated) or if it should be created at its maximum size (fixed size).
A dynamically allocated hard disk file will only use space on your physical hard disk as it fills up (up to a maximum fixed size), although it will not shrink again automatically when space on it is freed.
A fixed size hard disk file may take longer to create on some systems but is often faster to use.
I always choose a dynamic:

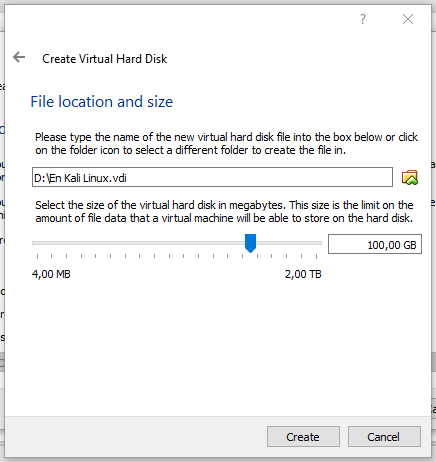
Please type the name of the new virtual hard disk file into the box below or dick on the folder icon to select a different folder to create the file in.
Select the size of the virtual hard disk in megabytes. This size is the limit on the amount of file data that a virtual machine will be able to store on the hard disk.
The disk size should not be less than 20 gigabytes, otherwise almost immediately after installation you will have warning messages that there is not enough space. I choose 100 gigabytes for myself, but this does not mean that it will be occupied by a real hard disk, since I also choose a dynamic virtual disk, i.e. it is ‘stretched’ only as necessary. If you installed a too small hard disk and the virtual machine ran out of space, then you have problems. Also select the location of the virtual disk; it should be place on a partition that has enough space:
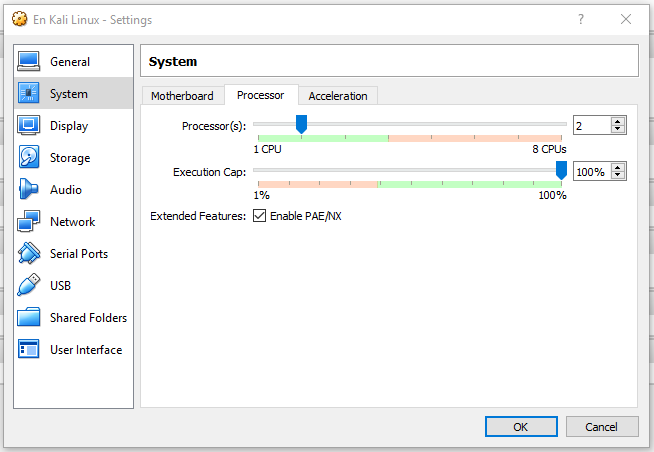
The machine is created, but before starting I prefer to make fine-tuning. In the settings, I go to the ‘System’ tab -> ‘Processor’ and add one more CPU, and also check ‘Enable PAE/NX’:
Then I switch to the Network tab and change the ‘Attached to’ to ‘Bridged Adapter’, also in ‘Advanced’ for ‘Promiscuous Mode’ I select ‘Allow All’.

Let’s start the virtual machine:
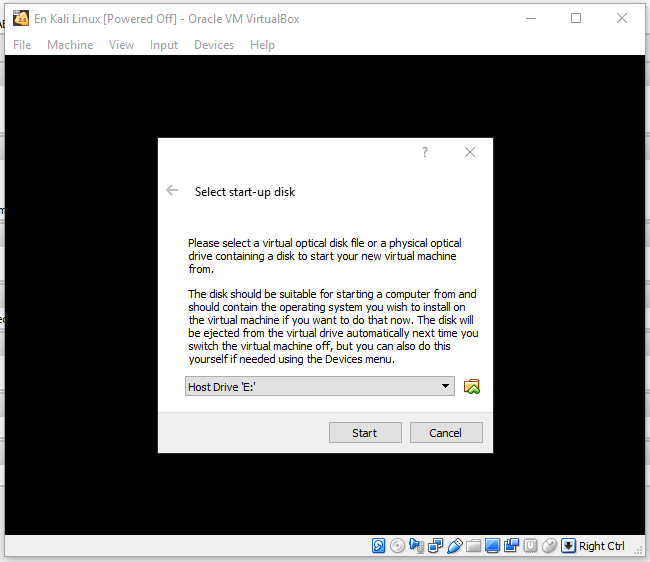
Select a virtual optical disk file or a physical optical drive containing a disk to start your new virtual machine from.
The disk should be suitable for starting a computer from and should contain the operating system you wish to install on the virtual machine if you want to do that now. The disk will be ejected from the virtual drive automatically next time you switch the virtual machine off, but you can also do this yourself if needed using the Devices menu.
We need to select the ISO file that we previously downloaded:

Click ‘Start’ and the booting will start.
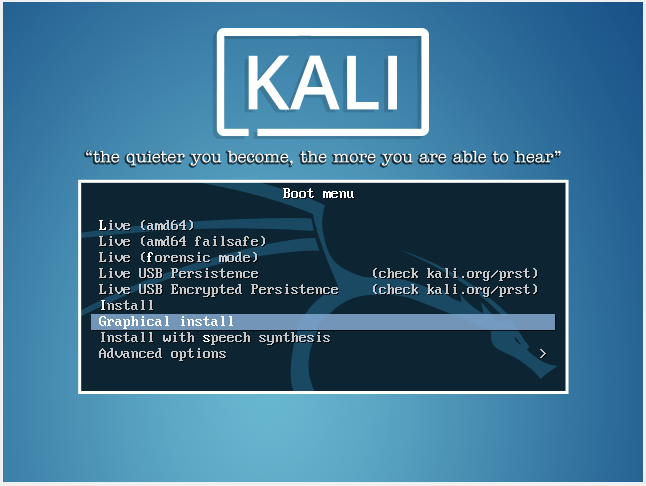
Step by step Kali Linux installation
If you just want to install the system, select ‘Graphical Install’.
Choose the language to be used for the installation process. The selected language will also be the default language for the installed system.

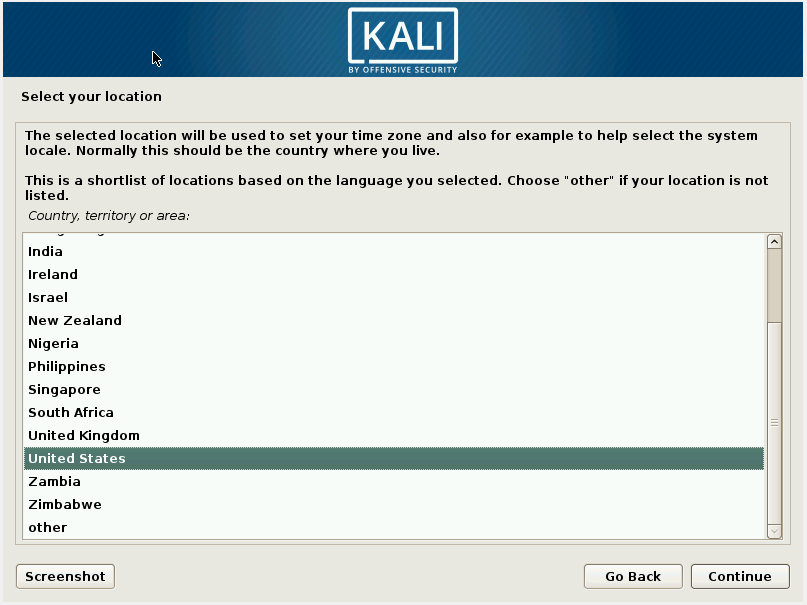
Select your location. The selected location will be used to set your time zone and also for example to help select the system locale. Normally this should be the country where you live.
This is a shortlist of locations based on the language you selected. Choose "other" if your location is not listed.
Country, territory or area:
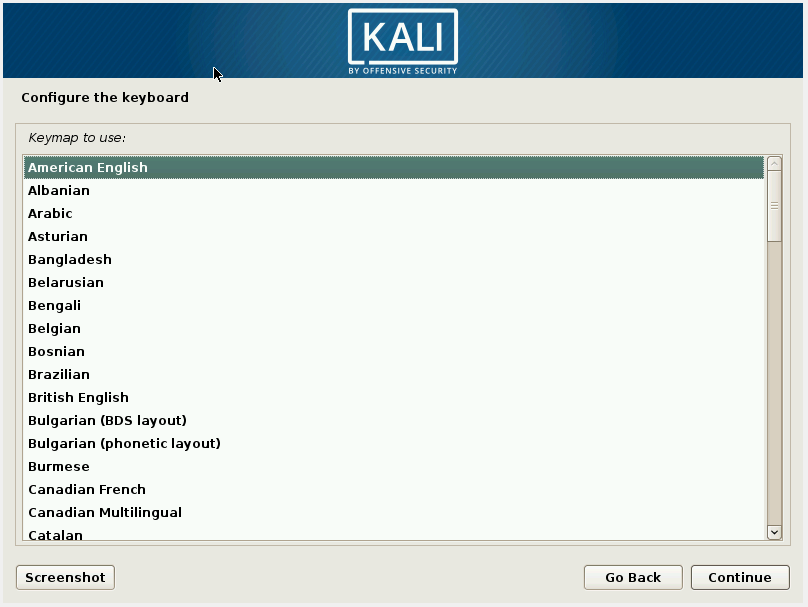
Configure the keyboard. Key map to use:
Configure the network. Enter the hostname for this system.
The hostname is a single word that identifies your system to the network. If you don't know what your hostname should be, consult your network administrator. If you are setting up your own home network, you can make something up here.
Hostname:

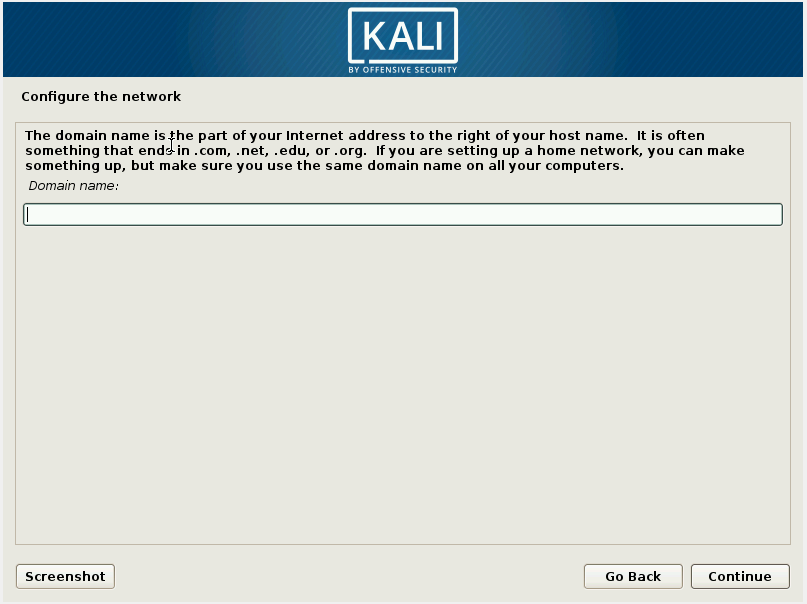
The domain name is the part of your Internet address to the right of your host name. It is often something that ends in .com, .net, .edu, or.org. If you are setting up a home network, you can make something up, but make sure you use the same domain name on all your computers.
If you are not sure what to write, leave the field blank:
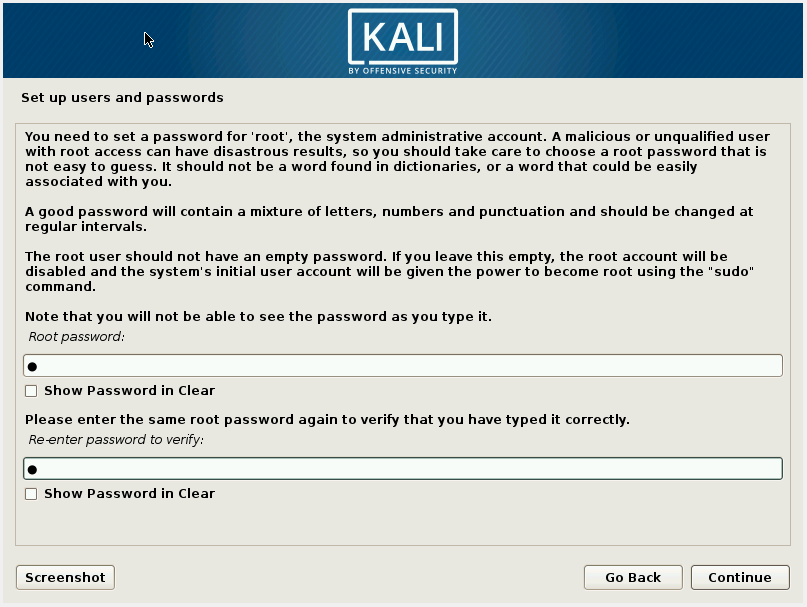
Set up users and passwords. You need to set a password for 'root', the system administrative account. A malicious or unqualified user with root access can have disastrous results, so you should take care to choose a root password that is not easy to guess. It should not be a word found in dictionaries, or a word that could be easily associated with you.
A good password will contain a mixture of letters, numbers and punctuation and should be changed at regular intervals.
The root user should not have an empty password. If you leave this empty, the root account will be disabled and the system s initial user account will be given the power to become root using the "sudo" command.
Note that you will not be able to see the password as you type it.
Configure the clock. If the desired time zone is not listed, then please go back to the step "Choose language" and select a country that uses the desired time zone (the country where you live or are located).
Select your time zone:

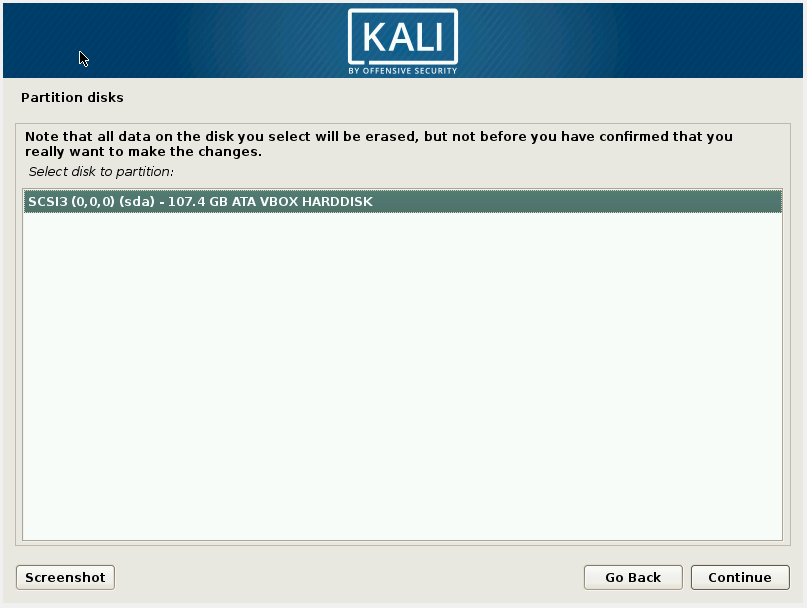
Partition disks. The installer can guide you through partitioning a disk (using different standard schemes) or, if you prefer, you can do it manually. With guided partitioning you will still have a chance later to review and customize the results.
If you choose guided partitioning for an entire disk, you will next be asked which disk should be used.
Select ‘Guided - use entire disk’ as Partitioning method:

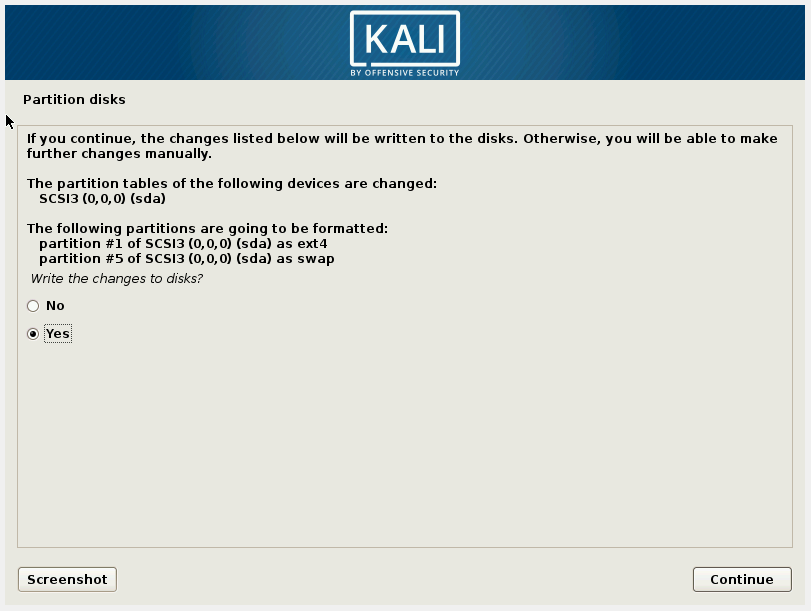
Note that all data on the disk you select will be erased, but not before you have confirmed that you really want to make the changes.
Press ‘Continue’ button:
Press ‘Continue’ button:
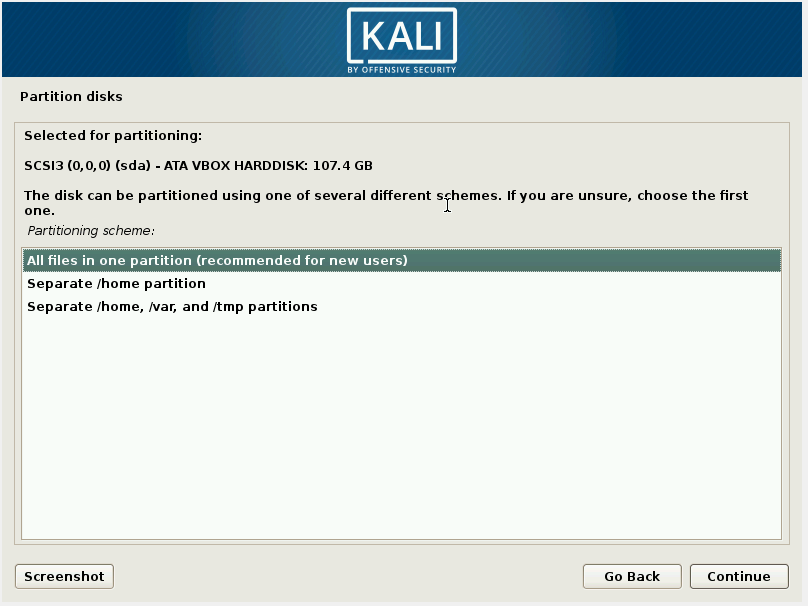
Press ‘Continue’ button:
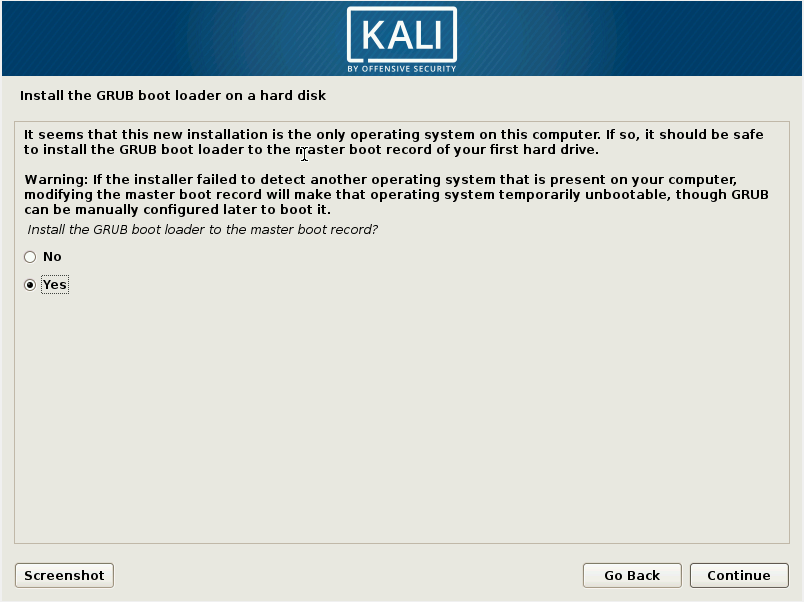
Change ‘No’ to ‘Yes’ and press ‘Continue’ button:
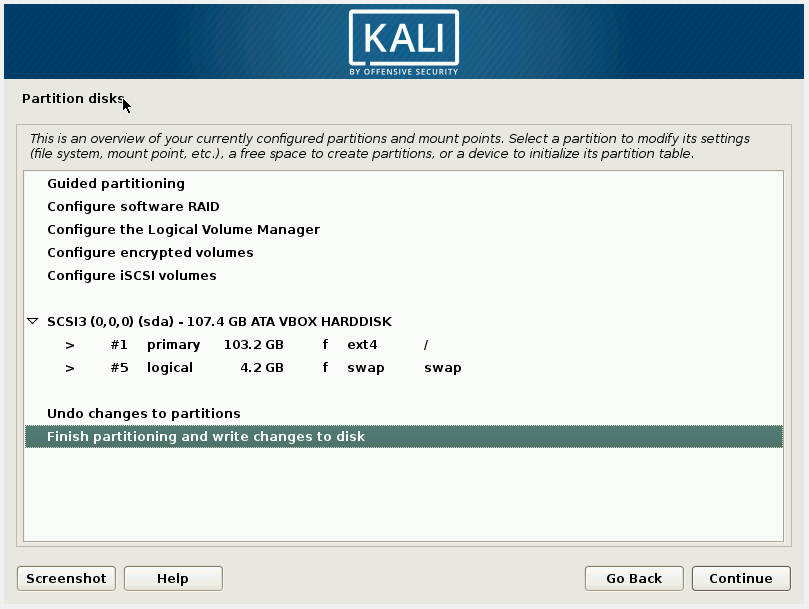
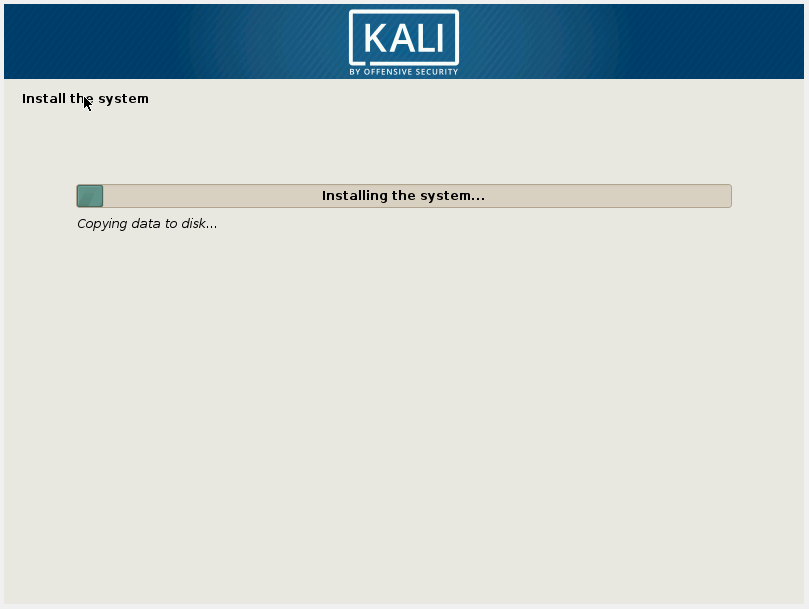
Wait for the process to finish:
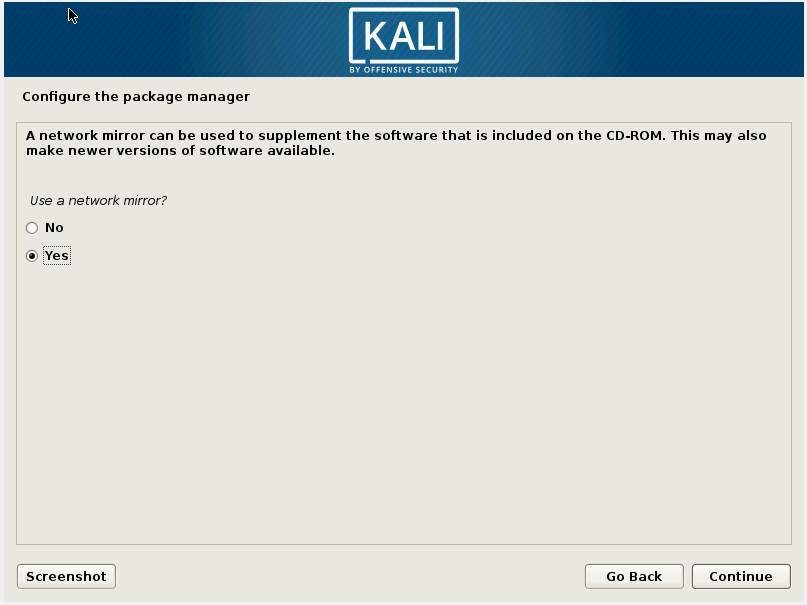
Press ‘Continue’ button:
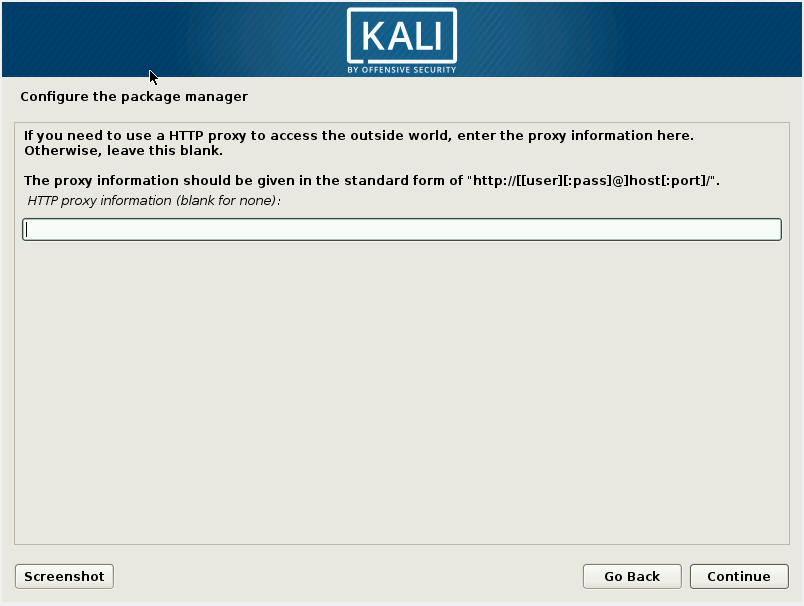
Press ‘Continue’ button:
Press ‘Continue’ button:
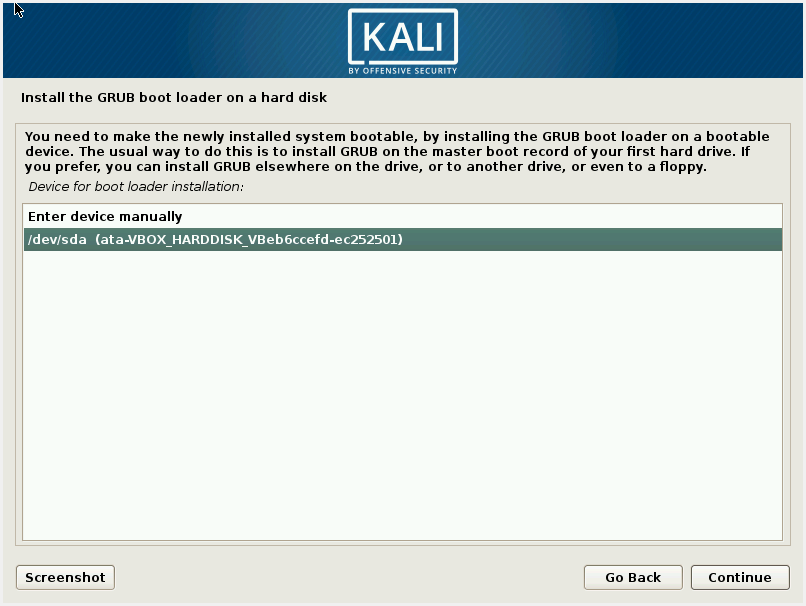
Select an available device and press ‘Continue’ button:
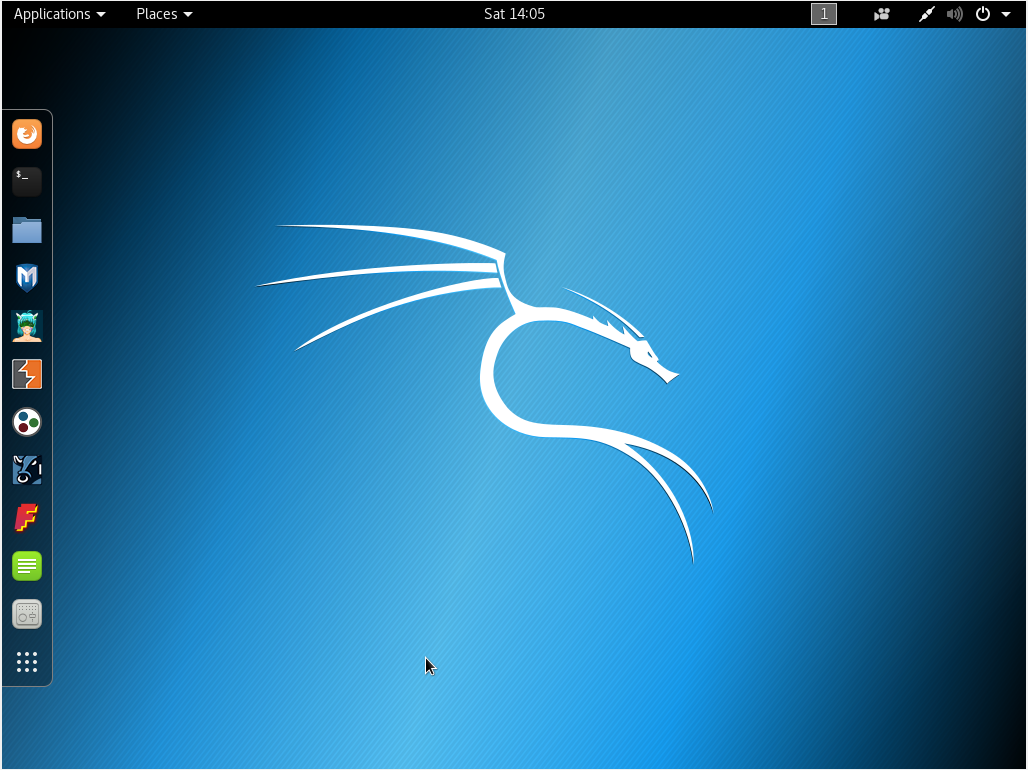
Kali Linux installation is completed:

Reboot.
The installation disk should be removed automatically. If this does not happen, the installation disk is extracted from the VirtualBox menu: Devices -> Optical Drivers -> Remove disk from virtual drive.
Install VirtualBox Guest Add-ons for Kali Linux:
sudo apt update && sudo apt full-upgrade -y sudo reboot sudo apt install -y virtualbox-guest-x11 sudo reboot
It is also recommended to continue acquaintance with Kali Linux under the article ‘Kali Linux Rolling post install tips’.
Related articles:
- Solving the problem with 'error: attempt to read or write outside of disk “hd0″' (100%)
- How to install Kali Linux (step by step tutorial) (100%)
- Kali Linux post-installation tips and settings (100%)
- Where to download Kali Linux and how to verify the integrity of Kali Linux images (90.5%)
- Where to download Kali Linux. What is the difference between Kali Linux versions (90.5%)
- Quick way to decode unknown encoding (RANDOM - 9.6%)